安装应用
Windows 11 自带 Windows Terminal,如果使用 Windows 10 需要先在 Microsoft Store 手动安装
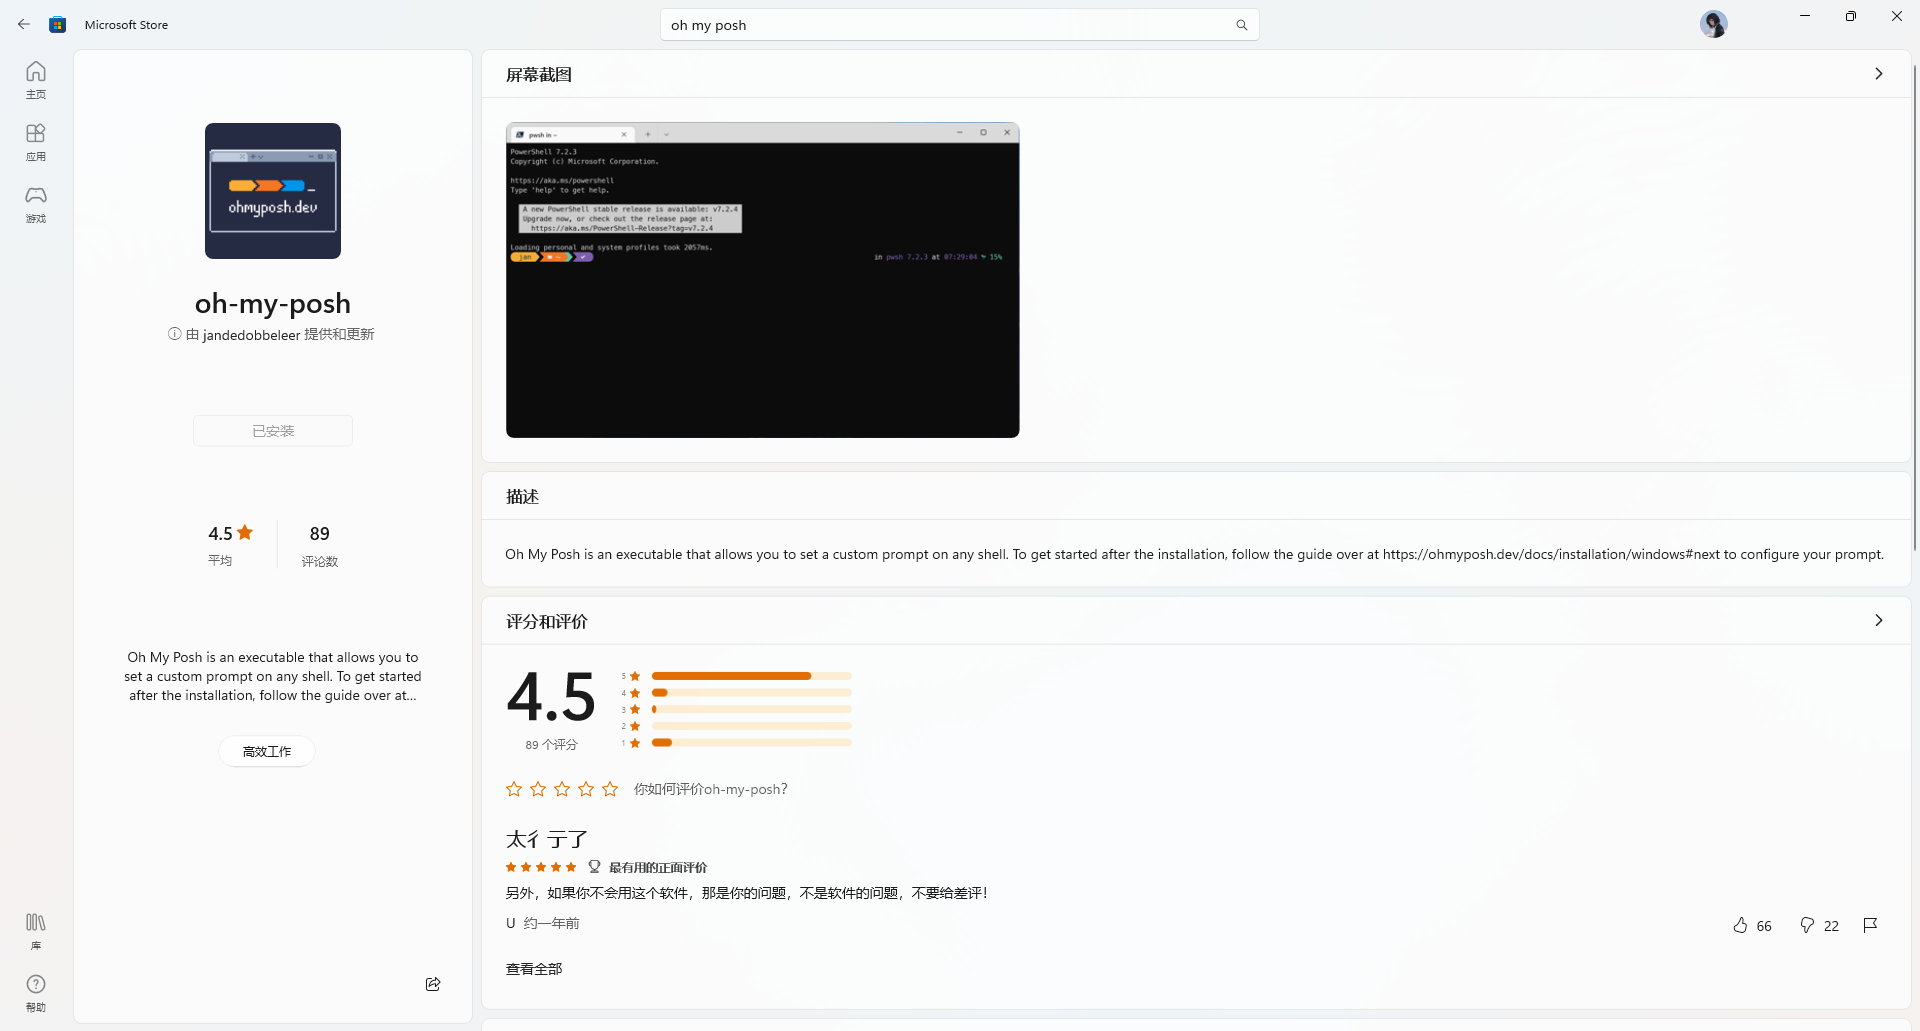
最新版本的 oh-my-posh 也可以直接通过 Microsoft Store 安装,注意下载可能需要代理
配置字体
我们首先需要安装 Nerd Fonts 以确保 oh-my-posh 中的字符和图标能够正常显示
各种字体可以直接在官网下载,这里我们选用 CaskaydiaCove Nerd Font 作为演示,下载并安装字体后打开 Windows Terminal,在设置中选择 Windows PowerShell 的配置文件,在外观中修改字体并保存即可
修改执行策略
此外,我们需要修改 Windows PowerShell 的执行策略,使得 oh-my-posh 能够正确执行,以管理员身份运行 Windows PowerShell 执行命令
1 | $ set-ExecutionPolicy RemoteSigned |
然后根据提示,将执行策略修改为是或全是
创建配置文件
现在我们为 Windows PowerShell 创建配置文件,在每次启动时都对 oh-my-posh 进行初始化
1 | $ New-Item $profile -Value "oh-my-posh init pwsh | Invoke-Expression" -Force |
重新打开 Windows Terminal,此时 oh-my-posh 已经可以正常启动
更改主题
接下来我们可以按需更换主题,以 Powerlevel10k 的 Rainbow Style 为例,首先执行命令
1 | $ Get-PoshThemes |
该命令会列出所有主题及其所在路径,根据提示我们可以定位到 themes 目录,将相应的主题文件复制到用户目录下
1 | $ Copy-Item "C:\Users\xxyQwQ\AppData\Local\Programs\oh-my-posh\themes\powerlevel10k_rainbow.omp.json" -Destination "C:\Users\xxyQwQ" -Force |
根据提示修改创建的配置文件,在启动时加载主题
1 | $ code $profile |
我们可以对主题文件进行定制化修改,例如添加 Anaconda 环境的显示
1 | $ code "C:\Users\xxyQwQ\powerlevel10k_rainbow.omp.json" |
保存并重启 Windows Terminal,此时主题已经加载成功
安装模块
为了获得与 zsh 类似的使用体验,我们还需要额外安装一些模块,以管理员身份运行 Windows PowerShell 执行命令
1 | $ Install-Module -Name PackageManagement -Repository PSGallery -Force |
重启 Windows PowerShell,同样以管理员身份执行命令
1 | $ Install-Module -Name PSReadLine -AllowPrerelease -Scope CurrentUser -Force -SkipPublisherCheck |
模块安装完成后,在配置文件中添加如下命令
1 | $ code $profile |
保存并重启 Windows Terminal,此时模块已经加载成功,此外 oh-my-posh 可以根据输入历史补全命令,使用 Ctrl+RightArrow 可以补全单词
个性化设置
此外,我们也可以在配置文件中添加命令以支持更多个性化设置,例如
1 | Set-Alias ll ls |
从而使得 oh-my-posh 更加符合 Linux 用户的使用习惯,一个完整的配置文件示例如下
1 | $ code $profile |
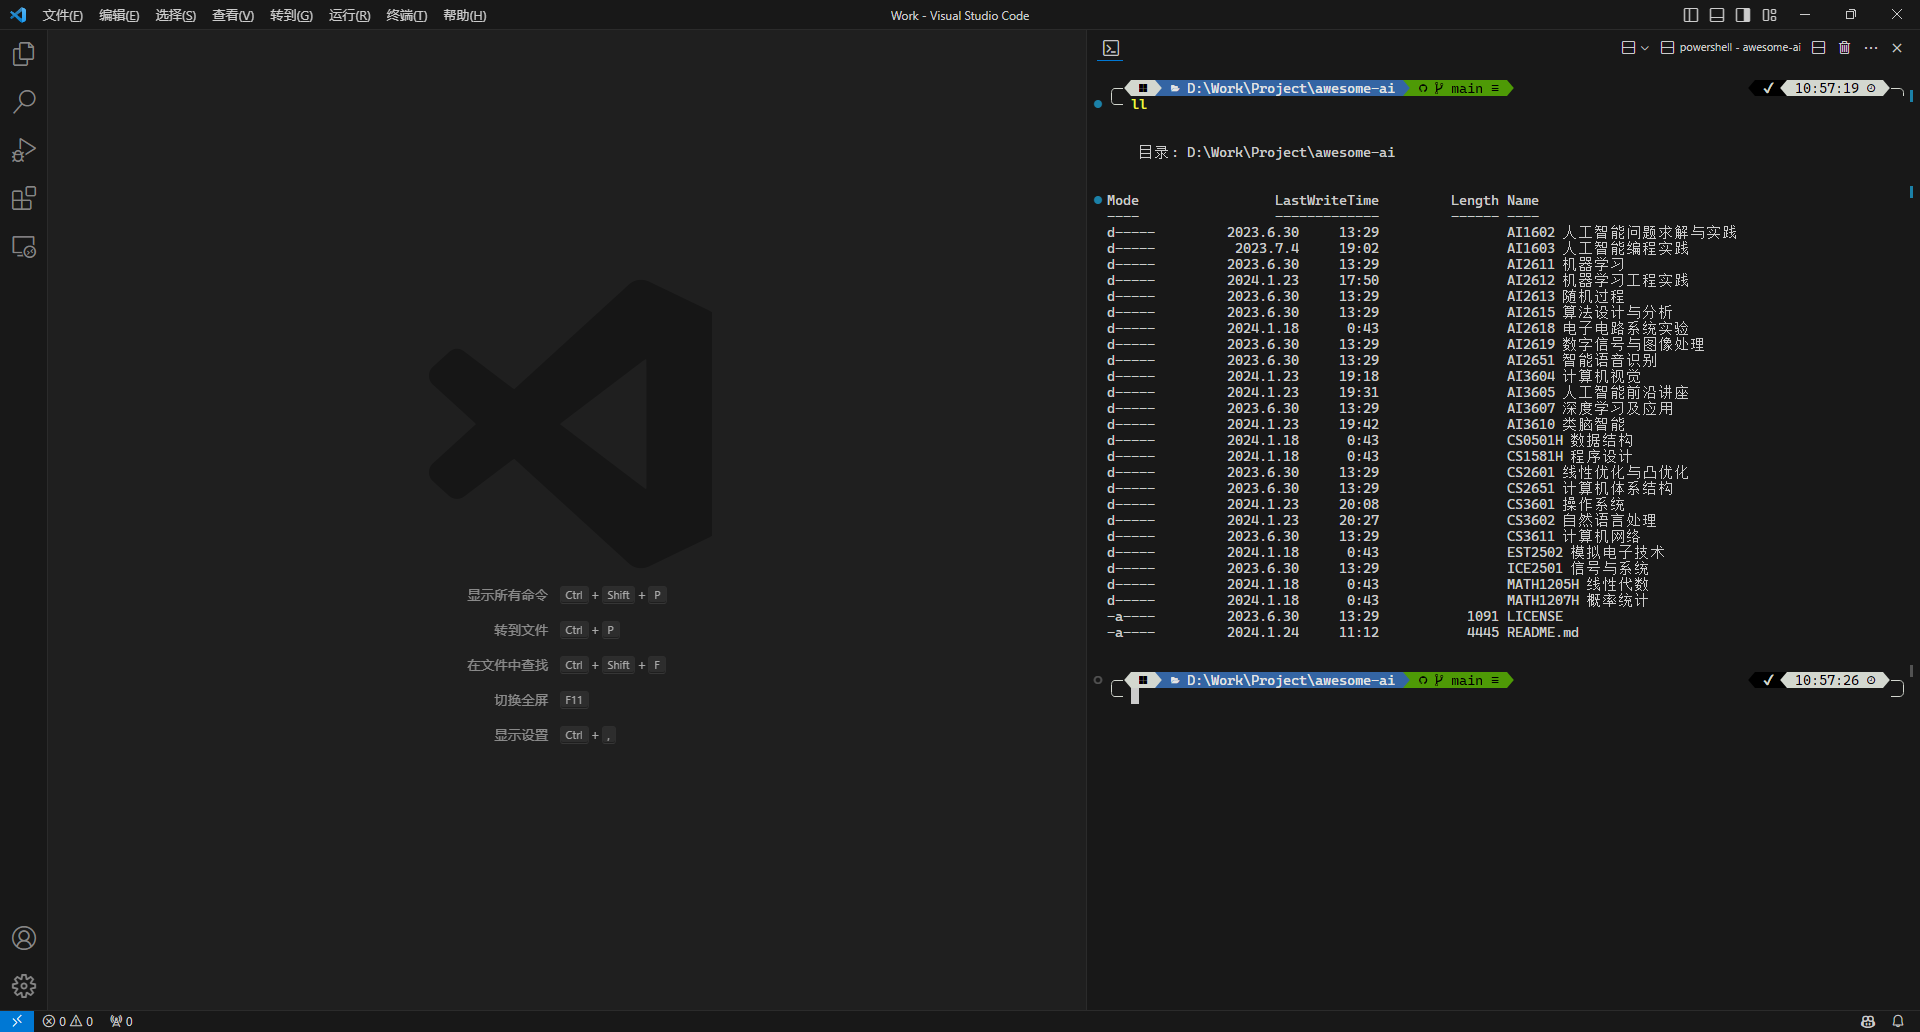
配置 VSCode 终端
最后,我们在 VSCode 中将默认配置文件改为 Windows PowerShell,并将终端字体改为 ‘CaskaydiaCove Nerd Font Mono’
至此,我们已经可以在 VSCode 中正常使用 oh-my-posh 作为终端